A dependable, general method for hot waxing a bike chain. This is a baseline, not a rulebook: waxes, chains, cleaners and quick-links all vary, so wherever your own products say otherwise, follow their instructions.
The complete hot wax process
Start to finish. 6 steps, 6 min read.
Hot waxing replaces liquid lubricant with a solid wax coating inside the chain's rollers and links. The aim is simple: start with a clean, dry chain, coat it evenly with molten wax, then refit and check it before you ride. This is a general method, not the only method. Waxes, chains, cleaners and quick-links all vary, so wherever the instructions supplied with your own products differ from this guide, follow theirs.
Strip a new chain to bare metal. A new chain carries a factory grease that wax cannot bond through. Clean it out with the product your wax system recommends until the rinse runs clear, then let it dry fully. Prepping a brand-new chain covers this in detail.
Clean a used chain between waxes. A chain that has only run on wax usually needs a wipe and a rinse, not a full strip. Clean the drivetrain too, so a fresh chain does not pick up old grime. See Cleaning a used chain for re-wax.
Melt and dip. Melt enough wax to submerge the chain, in the temperature range your wax states. Lower it in on a hook, move it gently so the wax reaches every roller, then lift slowly and let the excess drip back. See Melting and dipping technique.
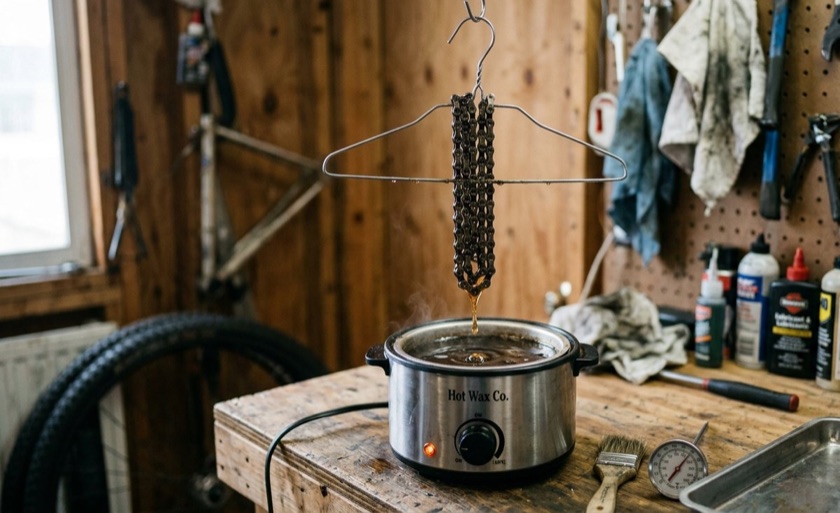
A chain on a hanger dripping into a compact wax pot.
Hot wax is flammable. Keep the area ventilated, keep water, flames, children and pets away, and never leave a heating appliance unattended.
Cool and free the links. Hang the chain until the wax sets firm. The links will feel stiff, so flex the chain back and forth to free the movement. See Curing and re-installing.
Refit and connect. Route the chain correctly through the derailleur and fit the right connector for your chain. See Quick-link handling.
Check before you ride. Turn the cranks by hand, shift through the gears, and confirm everything runs cleanly and quietly before you set off. See Checking before riding.
Useful check. If in doubt at any stage, stop and check your wax and component maker's advice before continuing. This guide is a dependable baseline, not a rulebook.
Prepping a brand-new chain
Strip the factory grease. 5 min read.
A new chain may look clean, but it usually carries a protective factory lubricant. That grease is useful in storage and fitting, but it can stop hot wax reaching and holding to the chain's inner surfaces. A short clean gives the wax bare metal to grip.
Remove the packaging and any quick-link. Take the chain out of its packaging and remove any quick-link supplied with it. Set the quick-link aside; you will inspect it before refitting.
Clean in a solvent-safe container. Place the chain in a sealed, solvent-safe container with the cleaning product your wax system recommends. Agitate it, pour away the dirty liquid, and repeat with fresh cleaner until the rinse is no longer cloudy or oily.
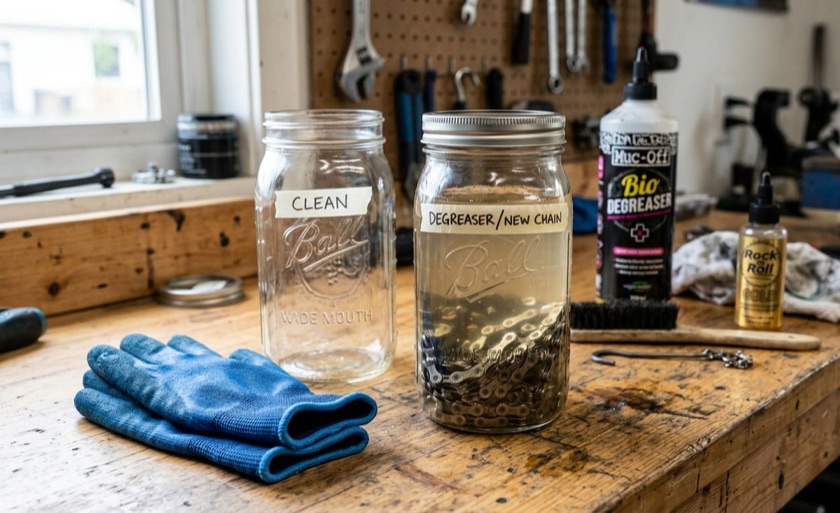
A new chain in a wide-mouth, sealed cleaning jar, with a second clean jar and gloves alongside.
Mind the solvents. Cleaning products and solvents can be flammable and give off fumes. Use them in a ventilated space, away from flames and heat, and dispose of them responsibly.
Finish with the recommended rinse. Finish with the final rinse your cleaner or wax maker recommends, then hang the chain somewhere clean and let it dry completely.
Confirm it is truly clean. A properly stripped chain feels dry rather than slippery, and the links make a sharper, bare-metal sound when you move them.
Useful check. If the final rinse still looks oily, cloudy or heavily discoloured, the chain is not ready for wax. Repeat the cleaning stage rather than waxing over residue.
Cleaning a used chain for re-wax
Between wax cycles. 6 min read.
A chain that has only run on wax is usually simple to prepare for its next dip. The goal is a clean, dry chain and a clean drivetrain, so no old grime ends up in the wax pot.
Wipe off the loose debris. Take the chain off the bike and wipe away loose dust, dried mud and surface debris with a clean, dry cloth. Wipe the chainring, cassette and derailleur pulley teeth too, so a fresh chain does not pick up their grime.
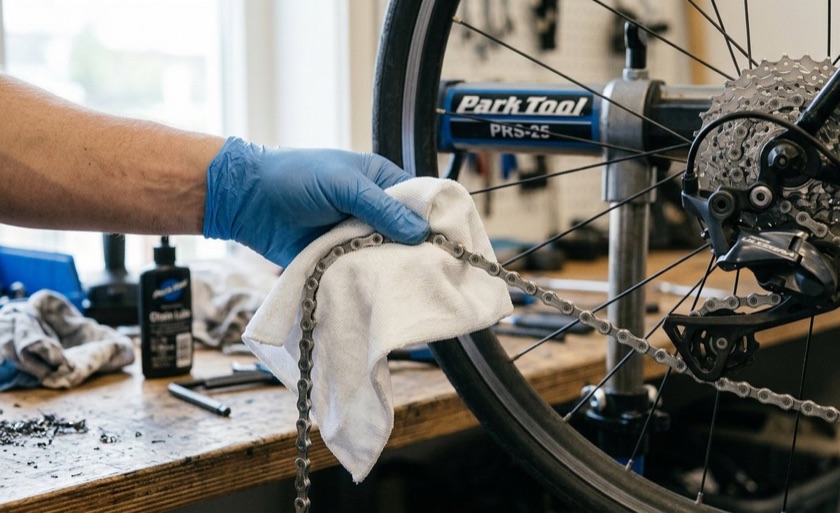
A clean cloth wiping a removed chain, with the cassette and derailleur pulleys behind.
Dry a wet chain promptly. If the chain has been ridden in rain, dry it promptly and never store it wet. Water trapped between the links can encourage corrosion, so let it dry fully before it goes into the pot.
Clean deeper when it needs it. If the chain has picked up oily lubricant, road film or grit, use the fuller preparation your wax supplier specifies rather than assuming a quick wipe is enough.
Mind the solvents. Cleaning products and solvents can be flammable and give off fumes. Use them in a ventilated space, away from flames and heat, and dispose of them responsibly.
Useful check. Look closely at the rollers and side plates. Dry wax residue is fine. Wet, greasy residue or a gritty paste means the chain needs more cleaning first.
Melting & dipping technique
Temperature & timing. 7 min read.
The dip is where wax actually gets inside the chain, so temperature and patience matter more than anything else. Let your wax's own instructions set the temperature; blends differ, and the label takes priority over any universal figure.
Use a dedicated, stable pot. Use a wax heater, slow cooker or pot kept only for workshop tasks, on a stable surface. Add enough wax for the chain to be fully submerged.
Heat to the wax's stated range. Heat the wax to the range your wax maker states. When it is fully liquid and clear, it is ready. Follow the product label rather than a fixed temperature.
Hot wax is flammable. Keep the area ventilated, keep water, flames, children and pets away, and never leave a heating appliance unattended.
Dip on a hook and agitate gently. Thread the chain onto a purpose-made holder or a simple wire hook, lower it into the molten wax, and move it gently for a short time so every link and roller is reached.
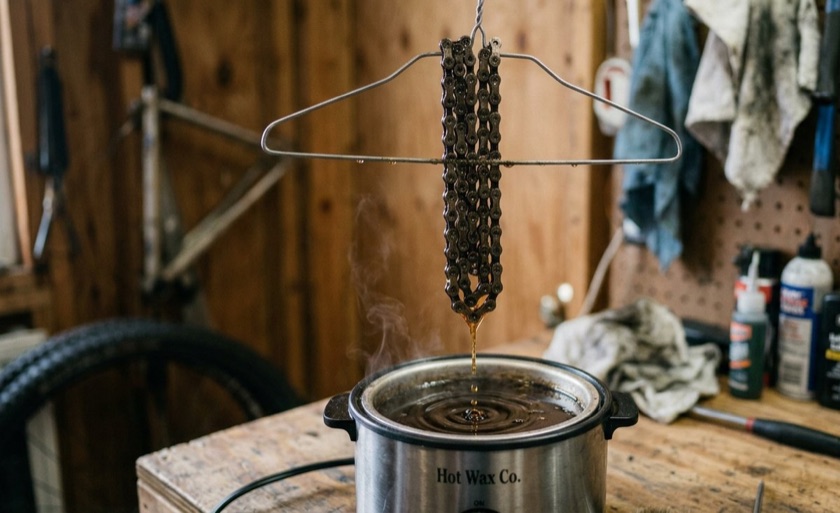
A chain held on a wire hanger above a compact wax pot, the lower run still dripping.
Lift slowly and hang it. Lift the chain slowly, pause above the pot to let the excess drip back, then hang it in a clean place. Do not rush: hot wax burns, and splashes are hard to remove.
Useful check. The chain should come out fully coated, with no obvious dry sections. If the wax is not fully molten or the chain is not fully submerged, pause and fix that before going on.
Curing & re-installing
Cracking the wax. 4 min read.
Straight out of the pot the chain is soft and wet; a little later it is stiff and set. Both are normal. Here is what happens in between, and how to get the chain back on cleanly.
Hang it until the wax sets. Let the chain hang until the wax has cooled and firmed up. The links may feel stiff or locked; that is just the wax setting between moving parts.
Free the links. Before fitting, flex the chain sideways and bend each section gently back and forth to free the links. This breaks the wax bond. The aim is easy movement, not scraping the wax off.
Route it correctly. Route the chain through the rear derailleur exactly as your bike specifies, on the correct side of the cage tabs and pulley wheels. Fit the right connector, then turn the cranks and shift through the gears with the bike supported.
Expect a little flaking. Some wax can flake from the outside of the chain during fitting and the first ride. Focus on smooth movement and clean shifting, not on keeping every outer surface coated.
Useful check. If a link stays tight after flexing, look at it before you ride. A stiff link, wrong routing or a poorly seated connector all deserve attention.
Quick-link handling
Reuse limits & safety. 3 min read.
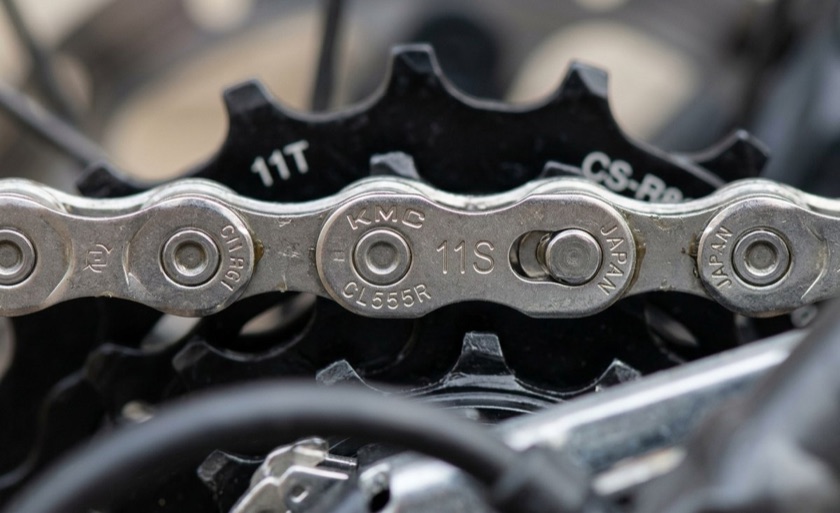
A quick-link, also called a master link or connecting link, lets you remove a chain without pressing out a rivet. It is handy for waxing, but it is a load-bearing drivetrain part, so it must match your chain's speed and its maker's requirements.
Inspect before refitting. Before refitting, check both plates and pins for dirt, damage, corrosion or visible wear.
Fit it the right way. Install the link in the correct orientation for your chain, then engage it using the method its maker specifies. Turn the cranks and confirm it runs smoothly through the derailleur.
A close macro of a correctly fitted quick-link on a clean chain.
Do not assume it can be reused. Reuse policies differ. Some makers state their link should not be reused once removed, as it may loosen; others allow a set number of uses. If the guidance is unknown or engagement feels uncertain, fit a new link of the correct type.
Useful check. After fitting, look closely at the link. Both pins should sit fully in their locked positions, with the plates sitting evenly.
Checking before riding
A quick final check. 2 min read.
A fresh wax and a refitted chain deserve a quick check before you ride. It takes a minute and catches the things that are easy to miss.
Spin and shift. Lift the rear wheel or support the bike so the pedals turn freely. Slowly rotate the cranks and shift across the cassette, listening for repeated clicks, skipping, rubbing or a link that does not move cleanly.
Check the essentials. Confirm the chain follows the correct route through the derailleur, the connector is secure, and the chain sits properly on the chainring and cassette.
Fix anything before you ride. If the chain skips, a link is stiff, or the connector is not fully locked, stop and sort it before riding.
Let the first ride confirm it. Your first short ride is a useful final check. Pedal gently, shift through the gears, and look over the drivetrain again afterwards.
Useful check. Waxing routines differ by rider, conditions and product. Use this guide as a dependable baseline and adapt it only after checking your component and wax makers' advice.
 WaxSync